
How to Buy Ethereum on Gate.io
Do you want to buy Ethereum on Gate.io but don’t know how? We are here to help.
Here is a step-by-step guide on how to buy Ethereum on Gate.io.
A Step-By-Step Guide on How to Buy Ethereum on Gate.io
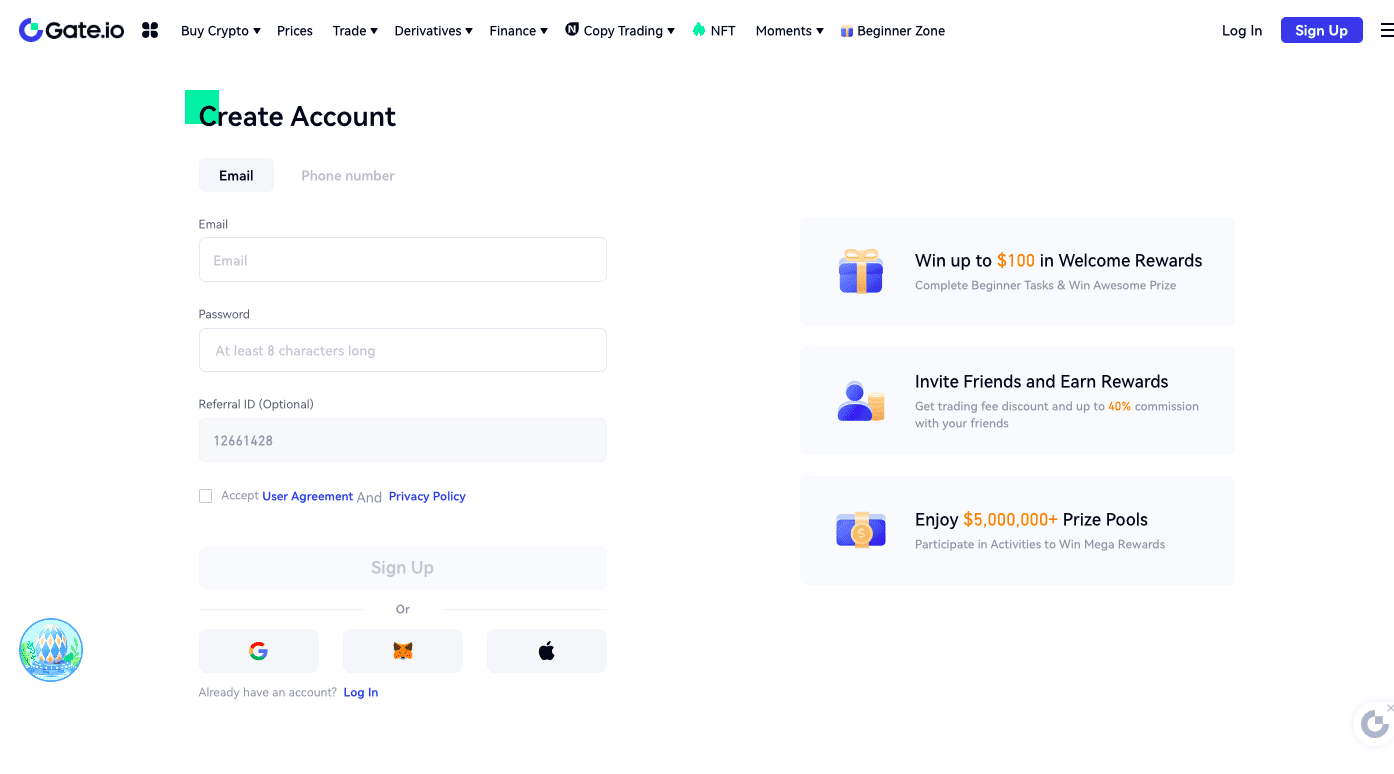
1. Register an Account on Gate.io
Let’s start things off by opening a Gate.io account.
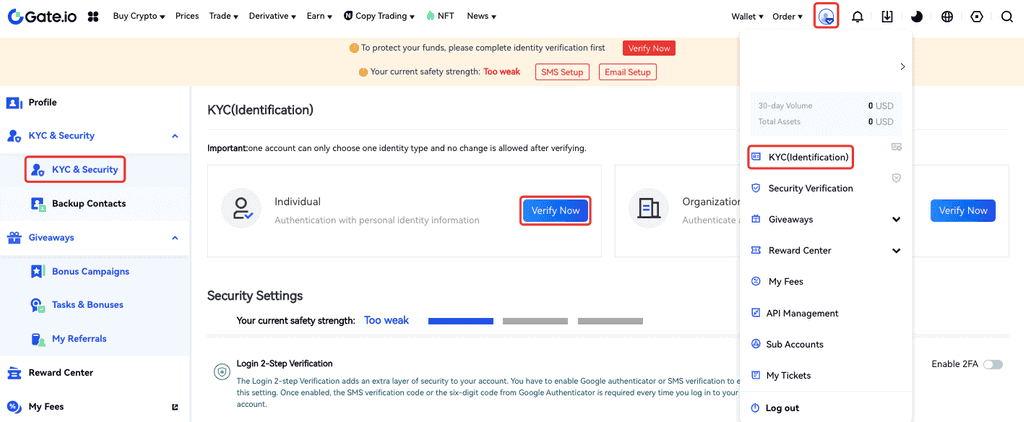
2. Verify Your Account
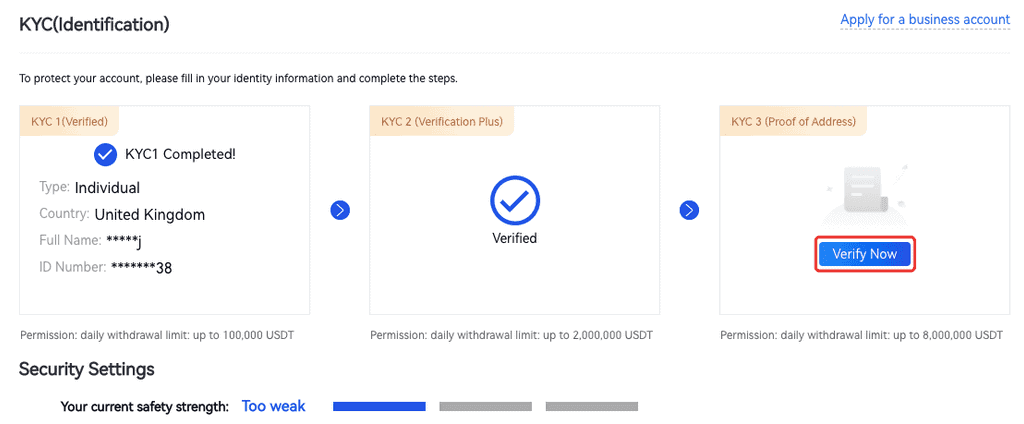
On the top-right corner of the screen, you will see a profile symbol next to the “Order” menu. Click it and go to the “KYC (Identification)” tab. Select “Verify Now.”
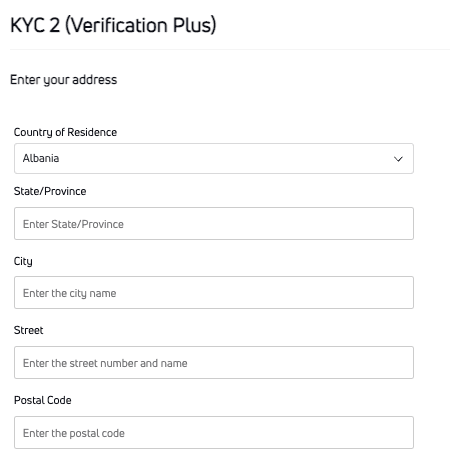
The next step is filling in your identity details in the form below. It’s pretty standard and requires your name, age, and address information. Click “Confirm and Submit” when you are done.
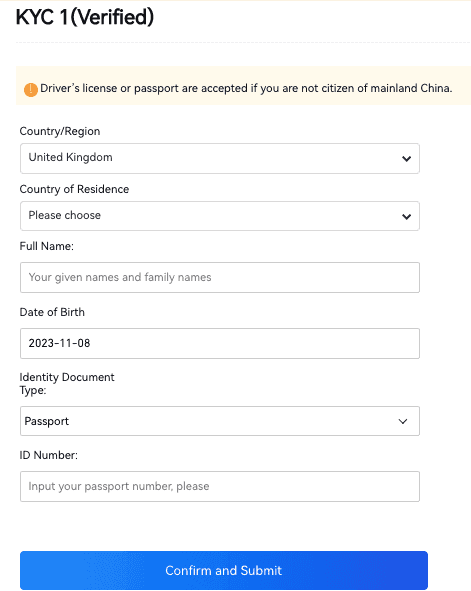
That’s it for level 1 verification. Next, complete level 2.
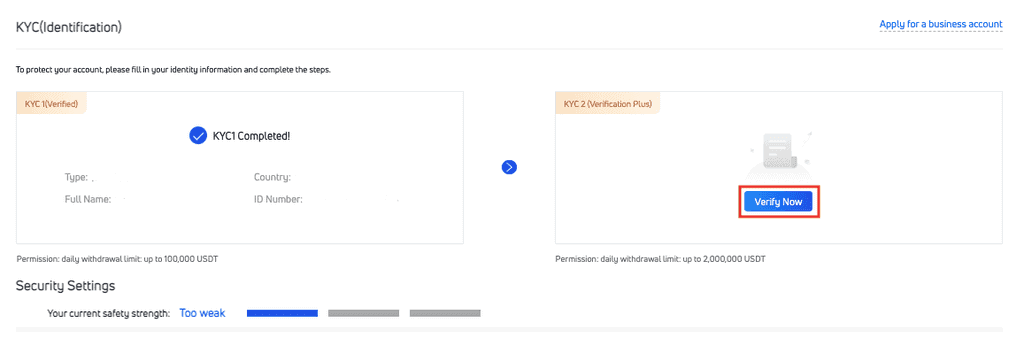
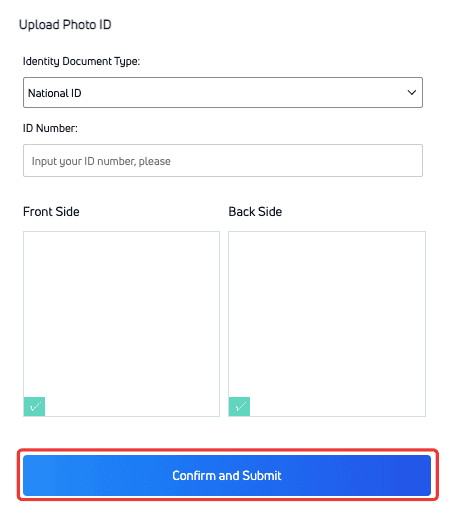
You must submit an official photo ID at this step. The ID must match your personal details.
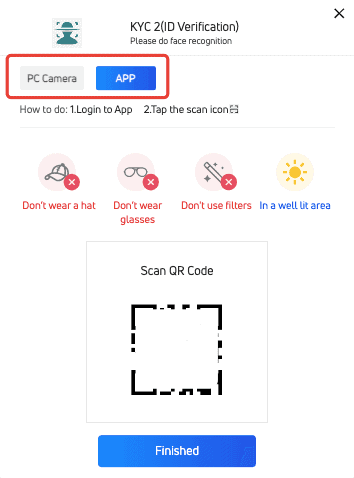
Now you can finish the process by going through the face recognition process. Decide whether you want to use your phone or PC cam, take off your glasses, and pose in a well-lit room.

If there is a problem with the interface when you hit the “Go to Facial Recognition” button, try the “Upload Gesture Photos” option.
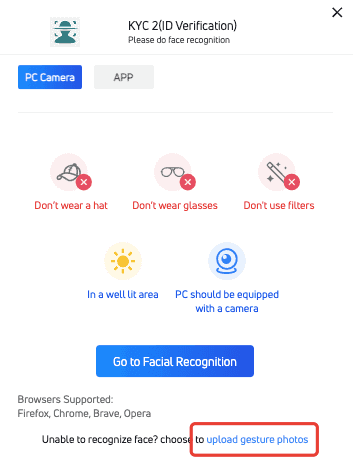
Gesture photos are pretty easy to take: you sign the last four digits of your SSN with your hand as you pose. It’s a good idea to have a look at the example photos before you submit your own.
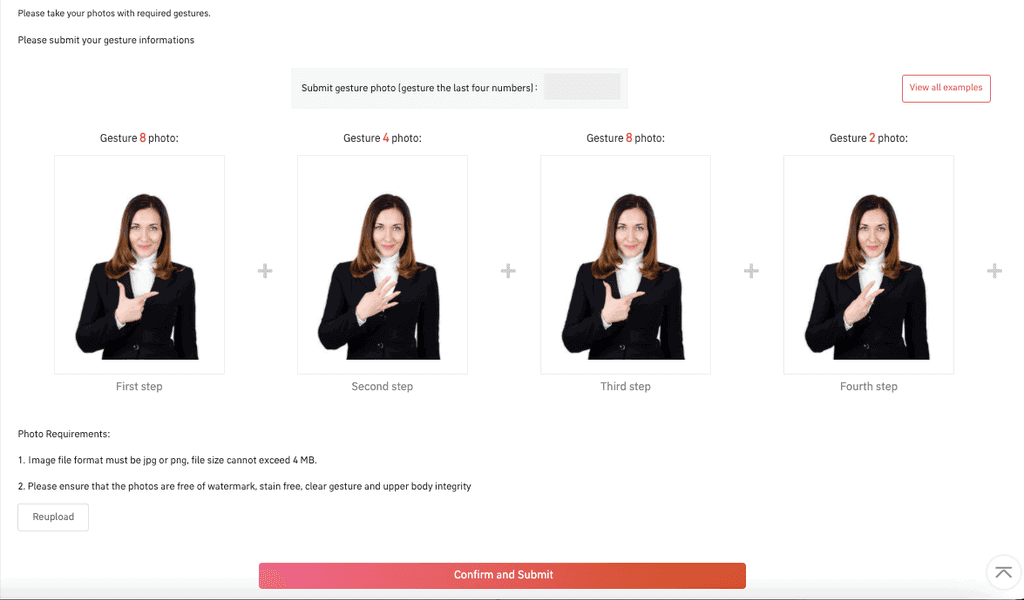
Ready? Click “Confirm and Submit.”
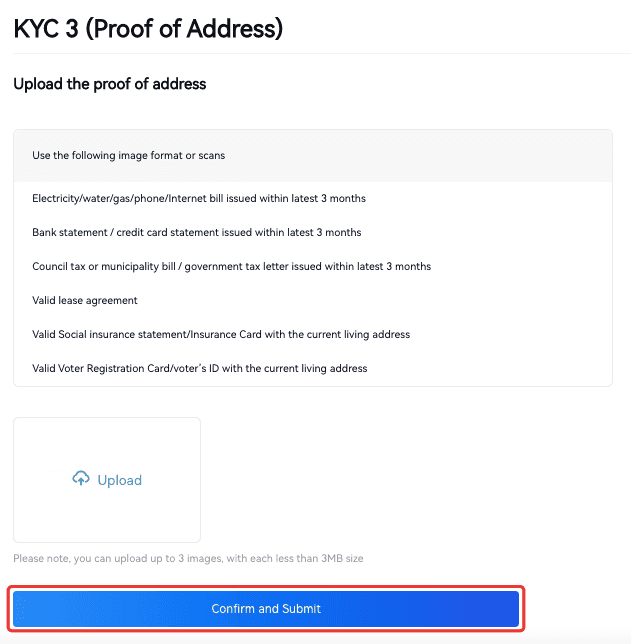
There is a final verification step, but it’s not mandatory to buy Ethereum. There are some additional benefits, like increased daily withdrawals, but most retail traders don’t need to complete this step.
If you want to complete it, you must upload proof-of-address documents, such as bank statements, lease copies, or bills.
3. Enable 2FA
Since you must either deposit cash or add a credit card to your account to buy Ether on Gate.io with fiat currency, it’s important to have extra protection on your account. 2FA or “Two-Factor Authentication” helps you do just that.
Click the “Two-Factor Authentication” tab in your account settings, and scan the QR code with your mobile device through the Google Authentication app.
You can use the resulting security code to turn on two-factor authentication. After you enable it, you will receive a login code to your phone for each login attempt.
4. Deposit Crypto
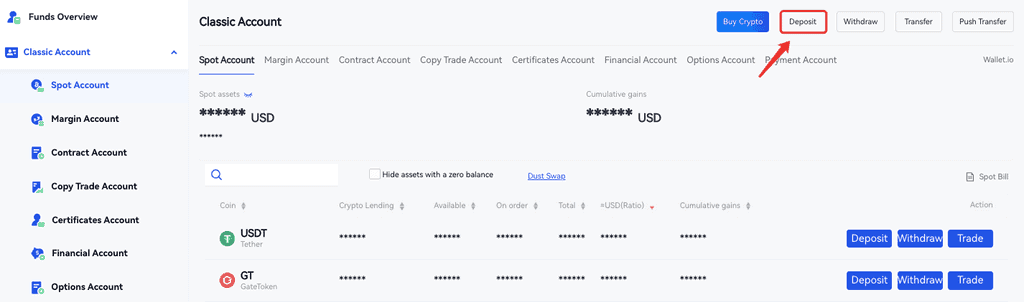
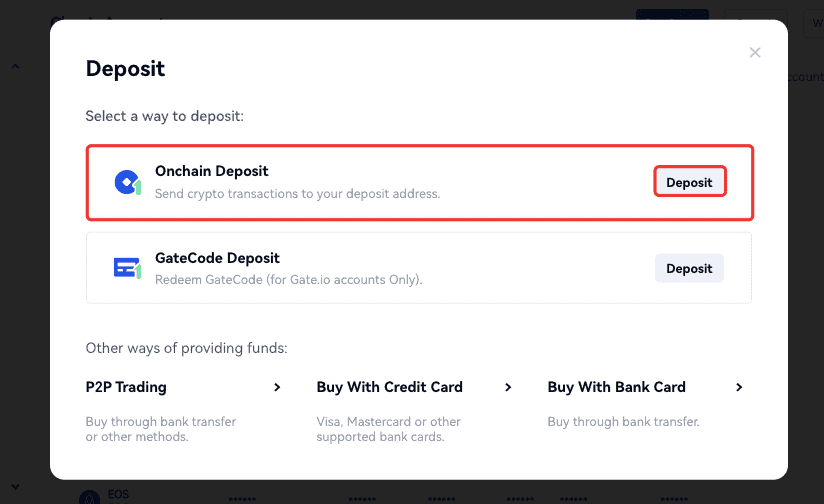
You can initiate a crypto deposit through your “Wallets” tab. Click the “Deposit” button next to the asset you want to transfer to the platform.
If you don’t own any crypto assets yet, skip to the next step to buy digital currencies with a card.
After you click deposit, you get a QR code for your Gate.io wallet address. Use the QR code to send your digital assets to your Gate.io wallet.
5. Navigate to Buy Screen
Now it’s time to buy some ETH on the platform. If you transfer crypto to your Gate.io wallet, you can trade it for ETH on the spot trading market.
If you don’t have any digital assets in your Gate.io wallet (as is the case for most beginners), you can buy ETH with a credit card through a 3rd party payment channel.
We’ll describe both ways down below.
Spot Trading
From the “Trade” menu, click “Spot.”
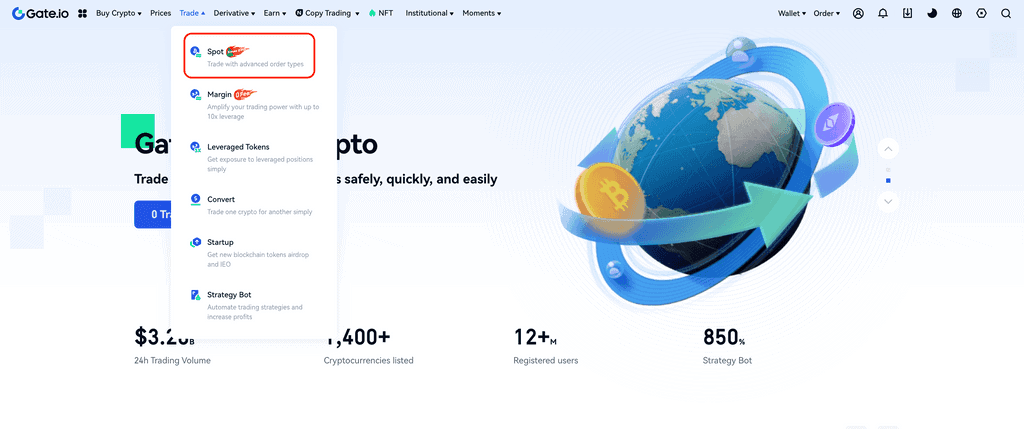
In the spot trading interface, search for the paring you want to trade. For example, if you have USDT, you can type USDT/ETH to find the right market.
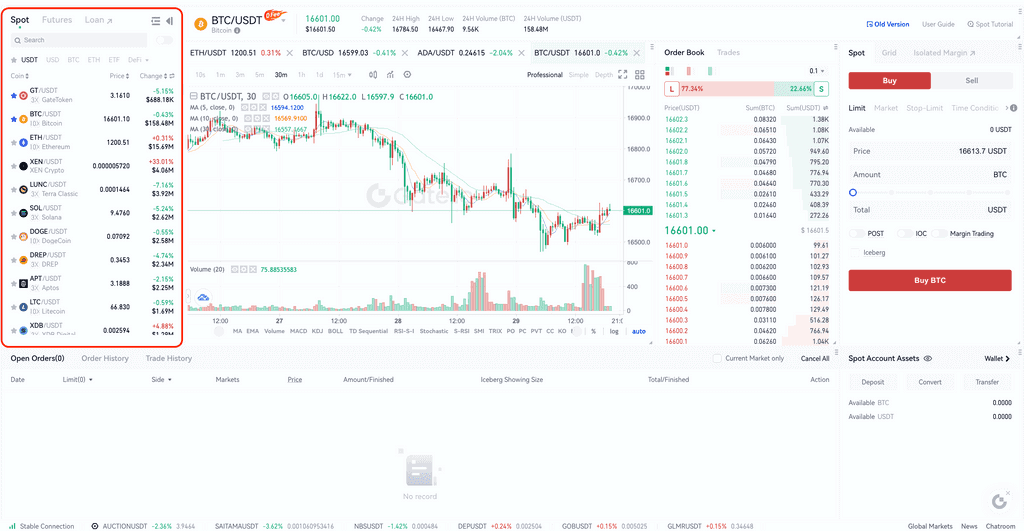
On the right, you will see an order form. The price is usually automatically set to ensure your order is immediately fulfilled, but you can adjust it manually if you think you can buy ETH for a lower price.
You will see a slider under the “Amount” box: You can use the slider to decide how much crypto you want to exchange for Ethereum.
After filling out the form, click “Buy ETH.” You will be able to preview your order details and all the fees involved before your purchase is complete.
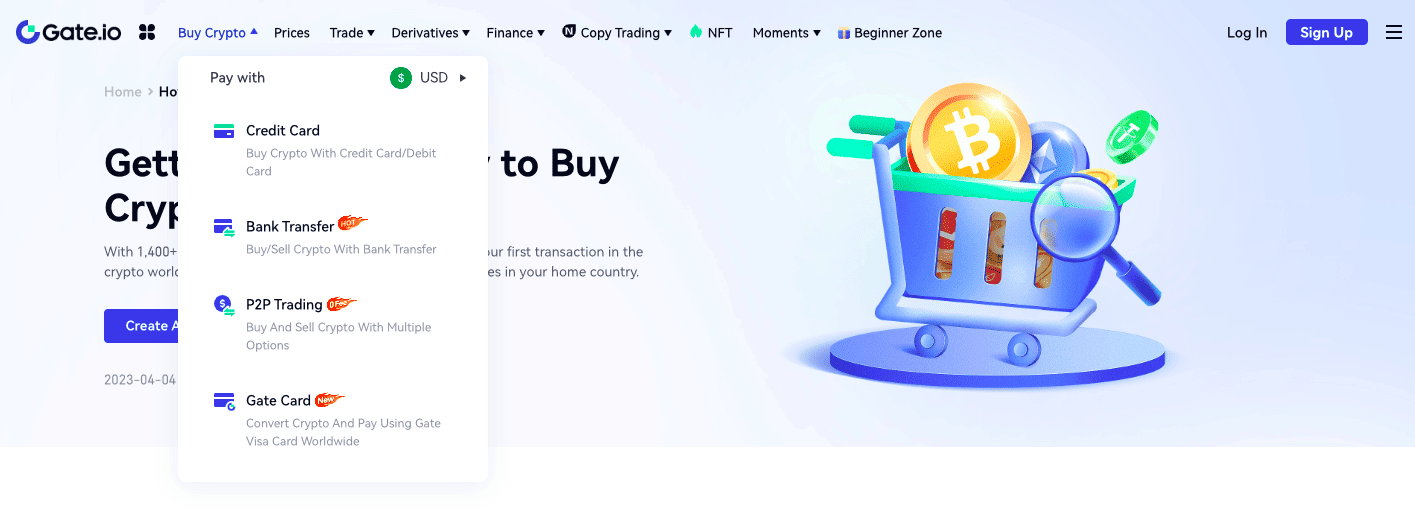
Purchase Ethereum With Your Credit Card
Since most beginners don’t own digital assets they can trade for ETH, exchanges offer third-party payment channels to buy crypto with fiat. In the “Buy Crypto” menu, click “Credit Card” to go to the instant order form.
 First, in the receiving box, select Ethereum as your preferred currency. Then, enter how much you want to pay for Ethereum.
Finally, decide on a payment processor. If you already have an account in one of the offered payment processors, you may want to choose it to fasten the process. If you don’t have an account at any of the 3rd party channels, select the one that offers the smallest fee.
You can check out the fees for each option by clicking on the channel and reviewing the details that show up on the right panel.
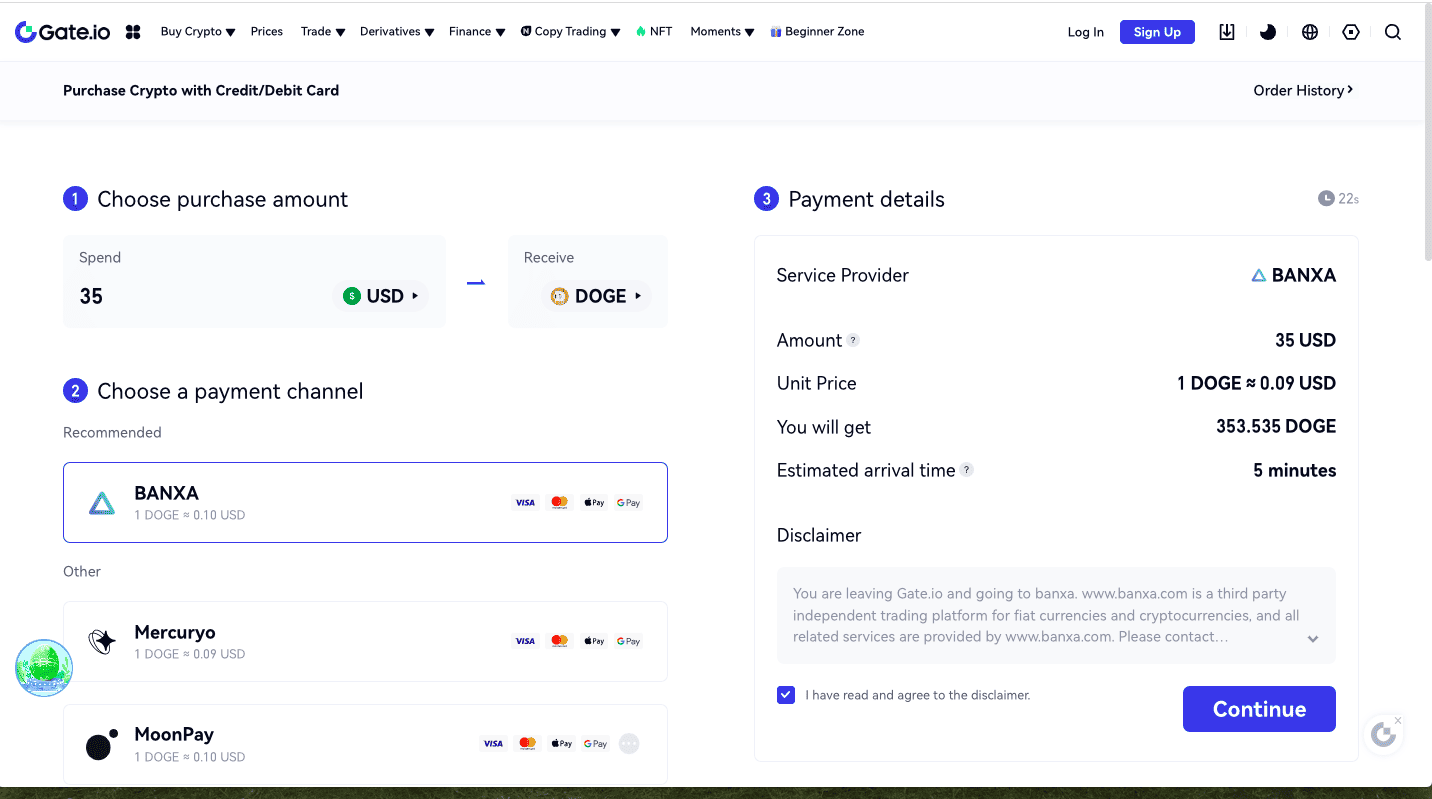
After filling out the form, click “Continue.”
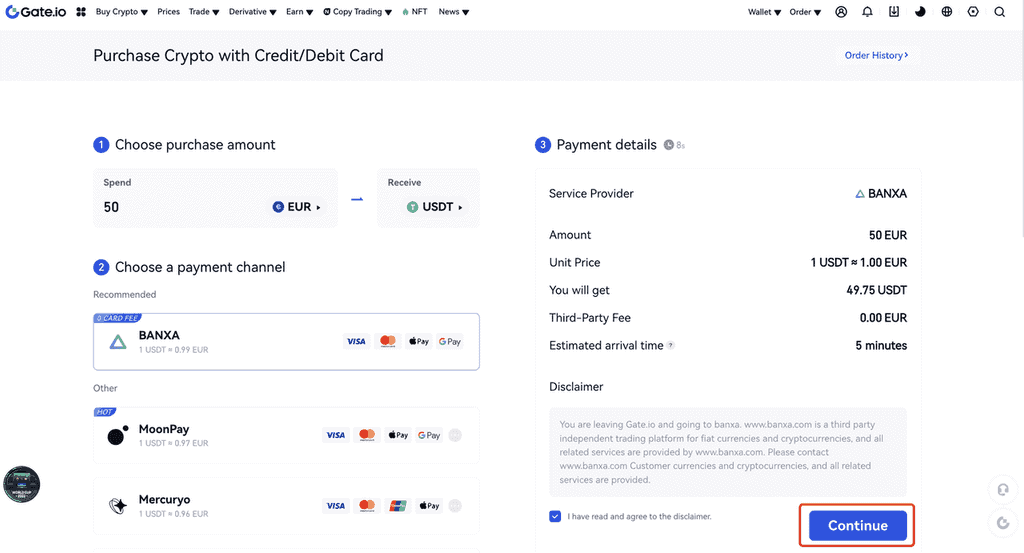
You will be taken to the payment channel to complete the purchase.
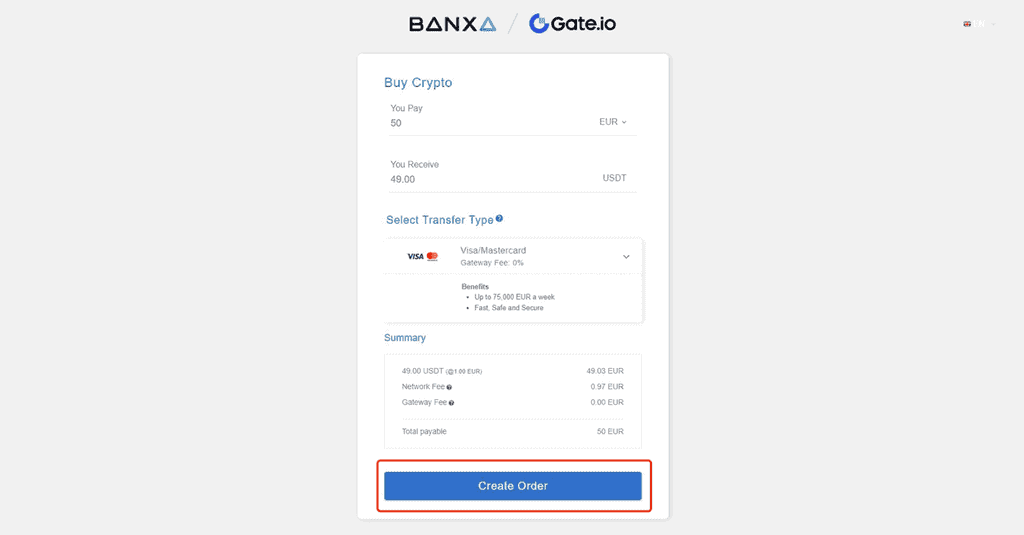
For example, if you are logged in to your 3rd party account, your payment option will immediately show up, and you can create your order.
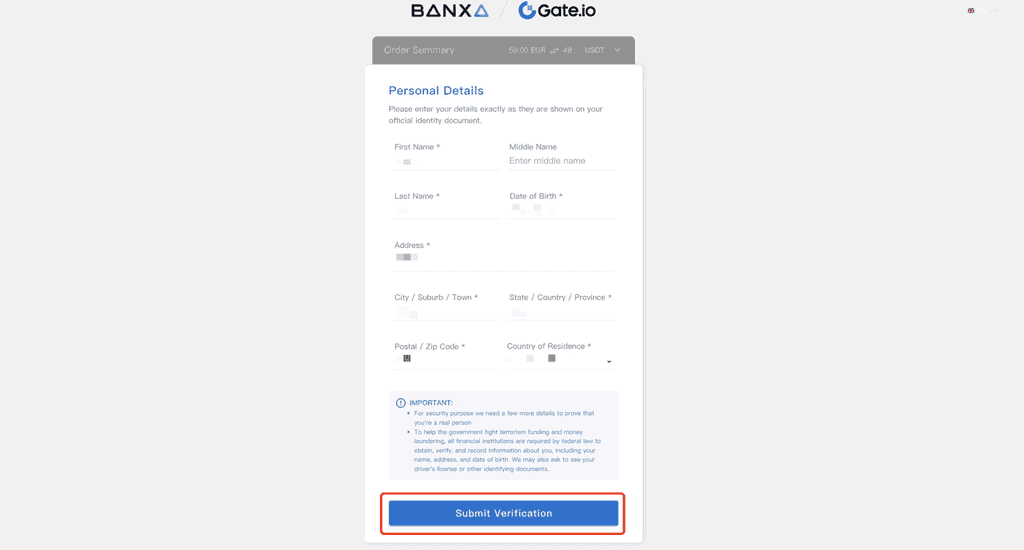
Otherwise, you will be required to sign up for the 3rd party app before you can continue: As you can see, the process is pretty simple and consists of another KYC check. Fill out the form and click “Continue.”
Then, you can add your card details to the payment channel.
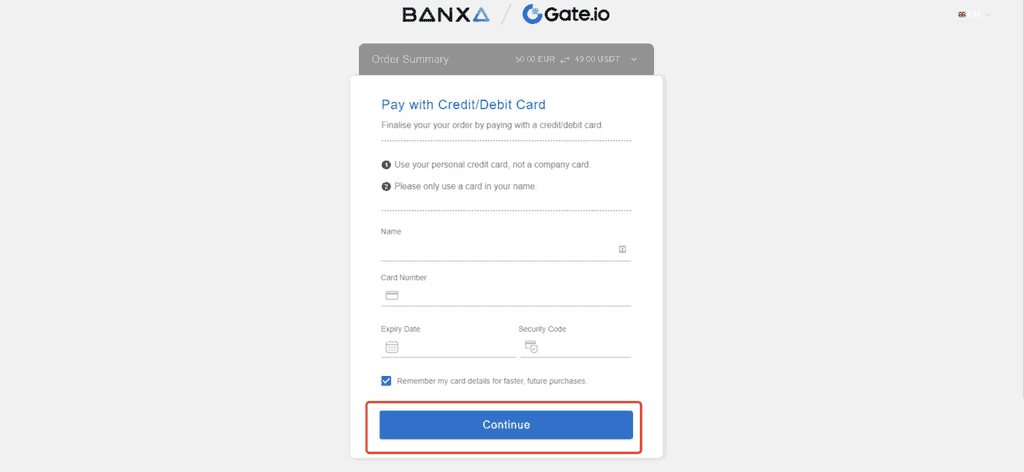
Your order will be processed after you click “Continue.”
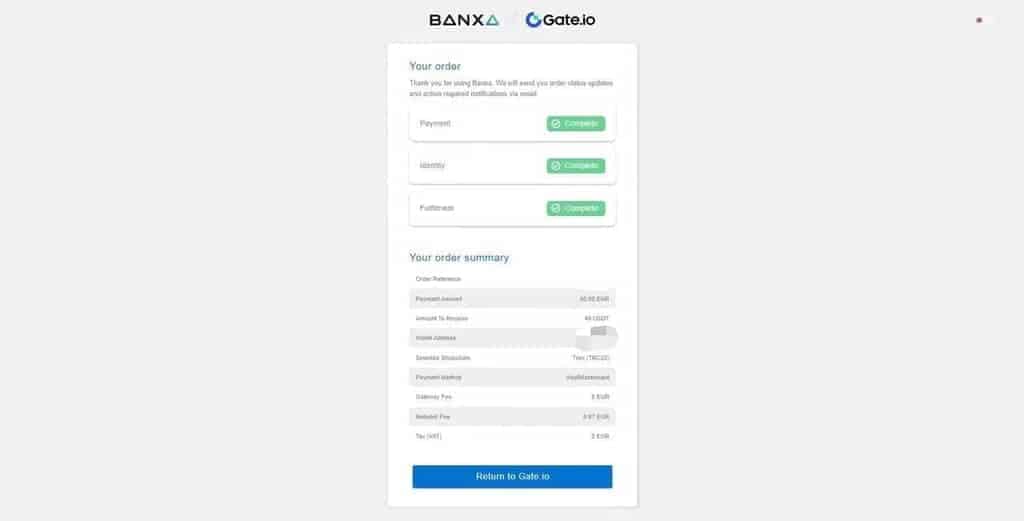
Congrats! Now, you can review your order summary and go back to Gate.io for more trades. We hope you enjoyed our guide on how to buy Ethereum on Gate.io. You can also check out our “How to Buy Ethereum” guides to buy ETH on different platforms.
